How to Create a Photobook

Auto Flow Assistant vs. Editor Overview | Step-by-Step Tutorial
VIDEO DESCRIPTION
Learn the key differences between the Auto Flow Assistant and the Editor in this step-by-step tutorial. Whether you want a quick and easy way to design your photobook or prefer full creative control, we’ve got you covered.

In this video, we’ll show you how to:
Use the Auto Flow Assistant to upload photos and create a photobook in seconds.
Edit your photobook manually for a personalised touch, including cropping, adding backgrounds, and customising layouts.
Save your project and place your order hassle-free.

Pro Tip: Organise your photos in one folder before uploading to save time.
Explore the simplicity of Auto Flow or unleash your creativity with the Editor.

Have questions or want a deeper dive into the editing tools? Check out our next video for more tips and tricks.

Click here to start from Adding Photos To Your Photobook
Click here to start from Editing Your Photobook
Click here to start from Changing The Photobook Background
Click here to start from Checkout Your Order
TRANSCRIPT
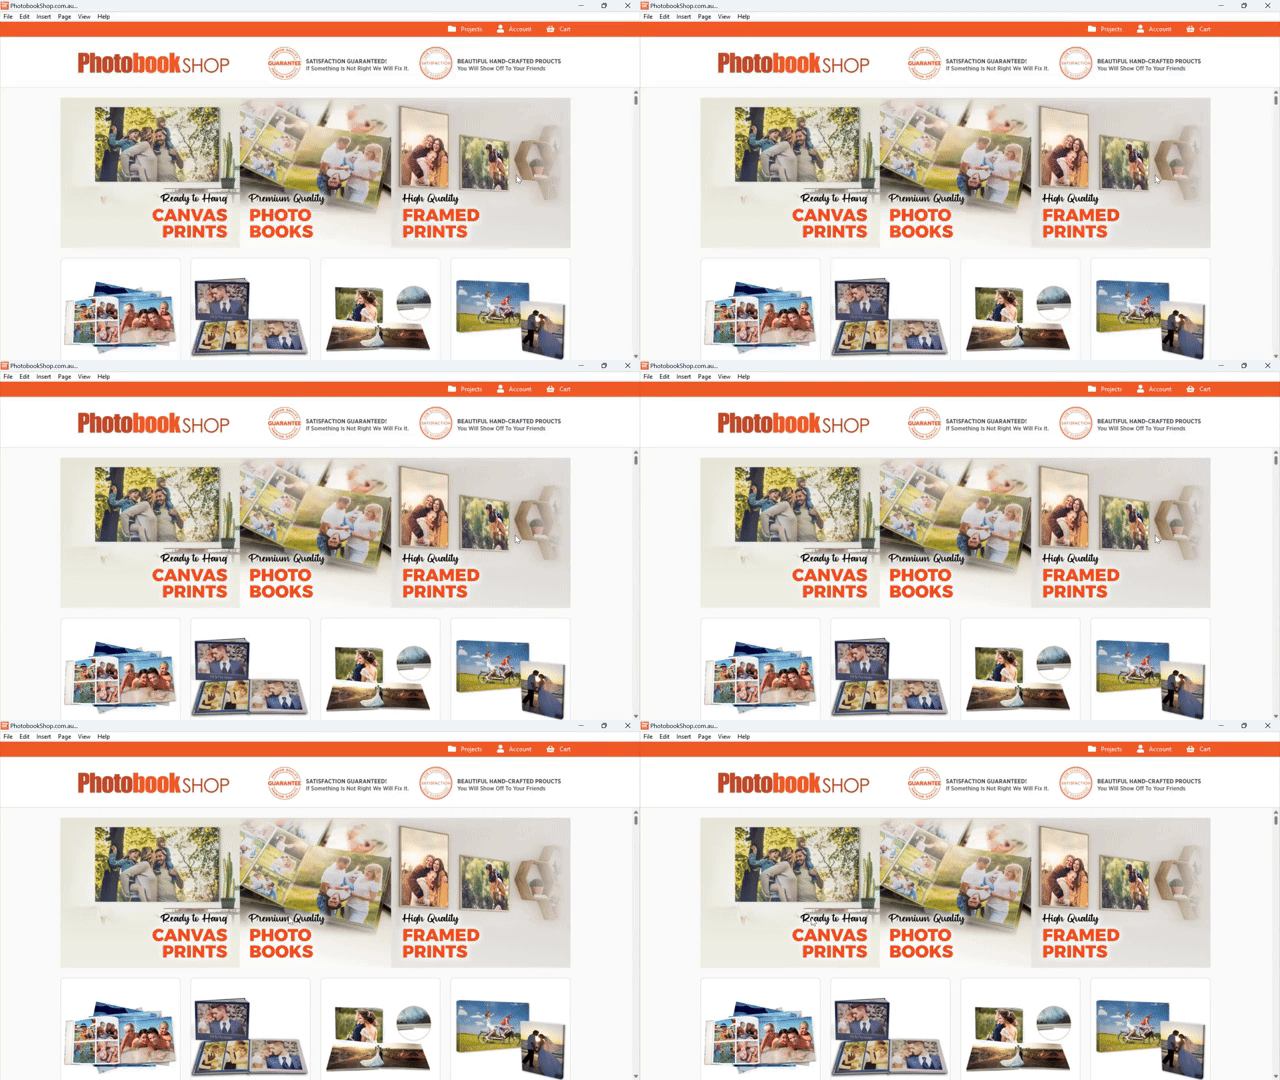
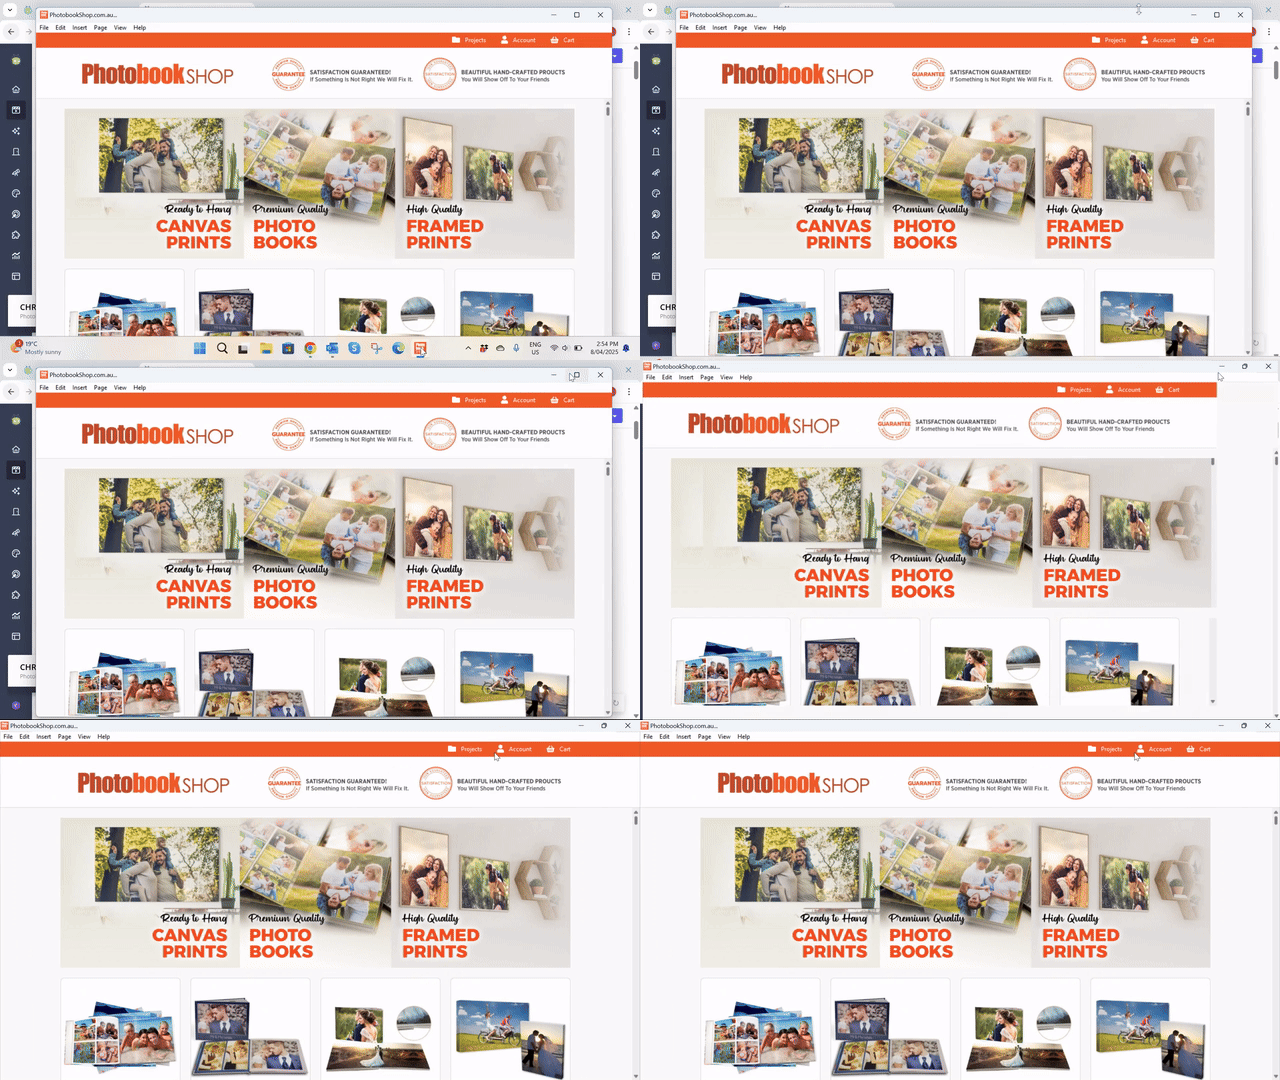
Hi. So today we're just gonna do a quick video and I'm gonna show you how to download the desktop software onto your computer. So you can access it from any of these options at the top here. It doesn't matter which one you choose. So if you click designer tool it will bring you to this page here. So we have both the PC and the Mac versions available so you just download whichever one is compatible for your computer. So we'll go PC version. That will start downloading and that will take a couple of minutes to download depending on your Internet speed. When it's finished downloading, you will just get this setup message pop up. So pretty much just follow through. So next, that's where it's gonna be located on your desktop. Next and install. That will take a couple of minutes to finish installing and then once that's done your software will be ready to open and start using. Okay so once that's all set up, we are ready to start using our software. So I'm just gonna go through, this home page for you quickly. So up the top here you will see projects, account, and cart. So any project that, you are currently working on or you've ordered will always appear in your projects folder. So you'll see all your projects here. Projects from your desktop will never be deleted and they will always remain in this folder. So if you've started working on a project and you would like to continue working on a project you would just highlight it and click open and that will open the editing part, the designer part of the project. If you would like to reorder another copy of a project, you would just hit duplicate. That would just ask you to rename the project, and then it will open it up for you. If you just wanna change the title of a project, you would then just hit rename project. If you'd like to delete a project yourself, then you hit delete project and when you've completed a project, you can hit complete order. Account, if you click account, that will take you through to your account on the website. In the account you'll be able to see any order that you've placed and you can track current order, you can have a look at your order history and see all the projects that you've ordered before in the past. If you've got any points or vouchers that will all be in your account and also you can change any of your personal details in there as well. And then you've got your cart. So whether you've got one item or multiple items in your cart, once you're ready to check out, you just hit cart and that will take you through to the checkout page. On this side, you've just got your pretty standard, you know, saving projects, editing, all that kind of stuff. This will take into effect when you were actually in a project, so we will go through that at a later stage. And then we've got all of our products here. So our different types of photo books, canvases, calendars, photo gifts, greeting cards. If you actually click into it, then you'll see all of our sub subcategories as well. So the blocks, acrylic prints, canvases, framed prints. Click home to go back to the main page. So if we would like to start photo book, so if you click photo book, you'll see all of our different collections, here. So if we select the standard photo book, select which size photo book we wanna create. So if we do 2633, select how many pages, so we'll go 60 pages and hit create now. If you haven't already downloaded a product or a collection when you first installed the software, this is where it will ask you to download the product. So, if you you don't have to download everything at the start, you can just download a collection or a product as you need and as you're working through. So once we hit download, it will download the standard photo book collection for us, and then we can start working on the project. So that's just a quick recap of our home page. If you would like a little bit more information on how to create a photo book and how the designer works, please see our next video.

Subscribe & SAVE $10

Subscribe now and SAVE $10 on your FIRST ORDER

THEMES